Recommended Assembly Procedure
It is recommended that the structures be test-fitted before applying finishes, to ensure correct assembly.

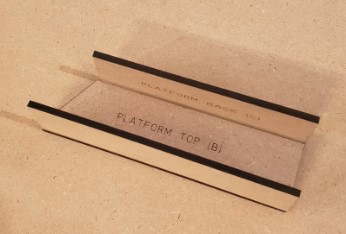
2) Begin by gluing the two window platforms together. There are three pieces to each and the engraved labels face inward. Set aside to dry.
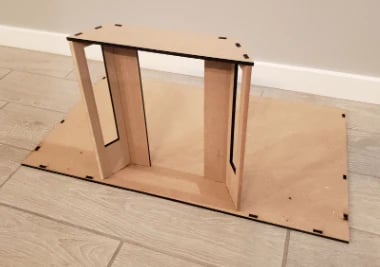
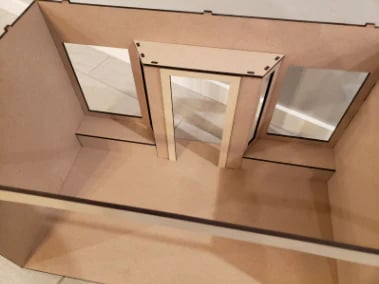
3) Lay down the floor piece, with the engraved letters facing upward. Insert the door opening wall and two entry side walls into their respective places. The entry ceiling piece holds them together.

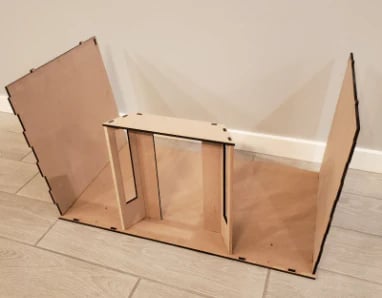
4) Insert the two side walls into the slots on the edge of the floor, leaning slightly outward.

5) Place the front wall into position and bring the side walls in to meet it at the corners. Also insert the rear top support piece if you are building a 1:6 scale storefront.

6) Arrange the window platforms inside the windows and apply the interior door trim.
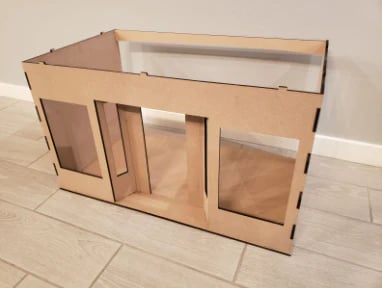

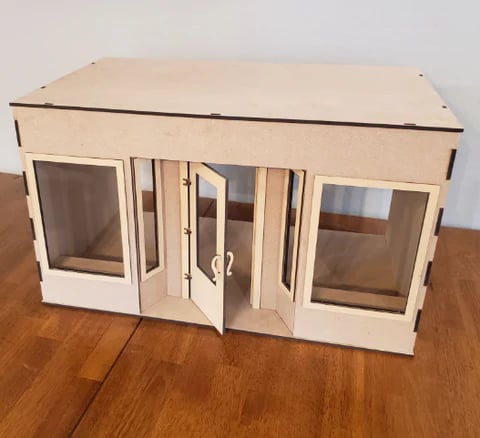
Finish by securing the roof in place, adding the front door, and applying the window trim.
Congratulations! You are ready for your Grand Opening!

Helpful Hints
• Masking tape can be used to temporarily hold pieces together.
• Wood glue or white (Elmer's) glue works well for securing the pieces during final assembly.

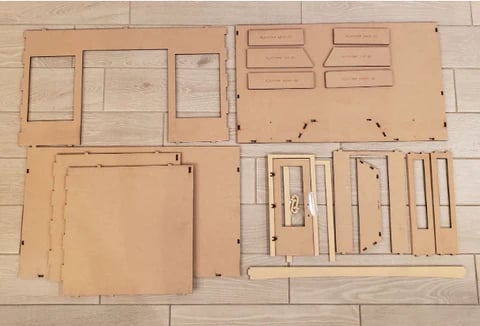
1) Begin by arranging the pieces to help with finding them during assembly.
Assembly Instructions
Find assembly instructions for your dollhouse kits.
Support
Contact
laserlinesaz@gmail.com
© 2024. All rights reserved.