1:6 Stackable Room Box Assembly Procedure
It is recommended that the structures be test-fitted before applying finishes, to ensure correct assembly.
1) Begin with the floor piece of the lowest room box.
2) Insert the side and any dividing walls into the slots in the floor piece, making sure they are oriented correctly.
3) Align the back wall with the floor piece and position the other walls to fit into the slots.
4) Add the cross brace and the floor piece of the next room box level and repeat the process.
Helpful Hints
• The side walls and back walls have markings showing the correct orientation.
• Masking tape can be used to temporarily hold pieces together.
• Some levels, such as the balcony, can arranged alternately by flipping over the floor and back wall.
• Wood glue or white (Elmer's) glue works well for securing the pieces during final assembly.
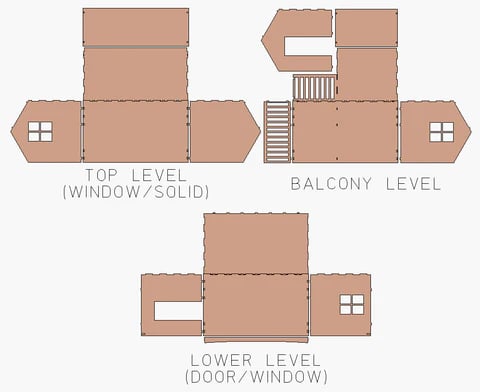
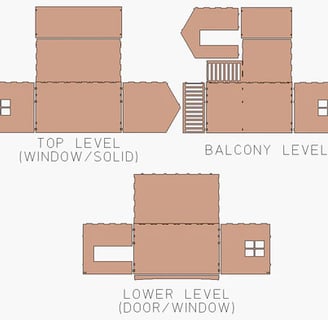
Layouts
The pieces used in the various layouts are shown below.
Assembly Instructions
Find assembly instructions for your dollhouse kits.
Support
Contact
laserlinesaz@gmail.com
© 2024. All rights reserved.